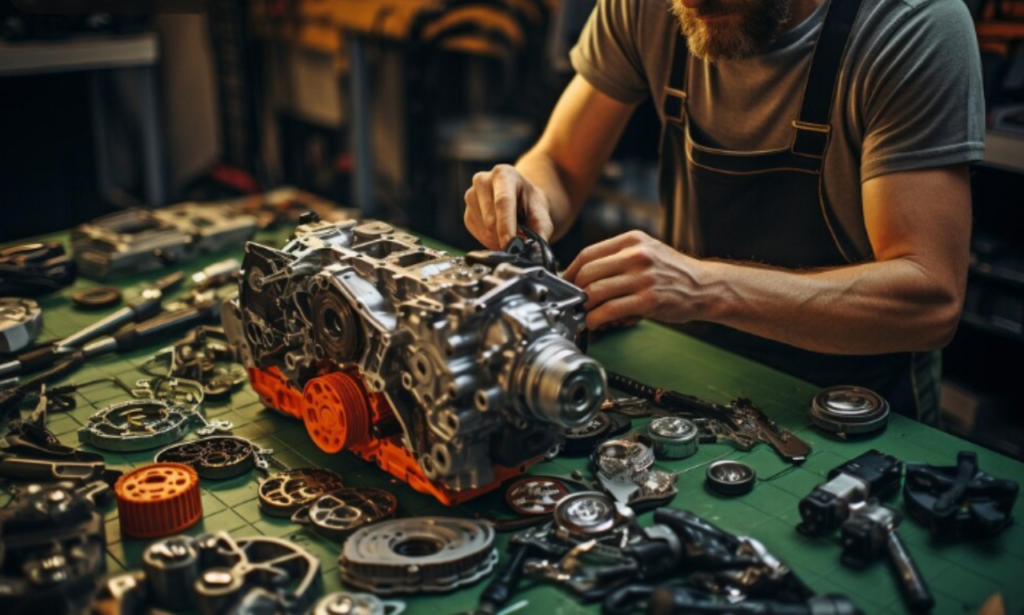
If you’re a proud owner of a 19 HP Kawasaki engine, you probably know how reliable and durable these engines can be. However, like all mechanical parts, the starter in your Kawasaki engine will eventually wear out, leading to sluggish starts or complete failure. Rather than replacing the entire starter, you can save money by rebuilding it using the 21153-7010 16121 Starter Rebuild Kit.
In this guide, we’ll walk you through the step-by-step process of rebuilding your Kawasaki engine’s starter, helping you get back to work with minimal downtime.
Why Rebuild Instead of Replace?
You may wonder, “Why bother rebuilding the starter when I could replace it?” Well, there are several compelling reasons:
1. Cost Savings
A new starter can be expensive, but a starter rebuild kit is much more affordable. Using the 21153-7010 16121 Starter Rebuild Kit, you’ll save money without compromising performance.
2. Environmentally Friendly
By rebuilding your starter, you’re reducing waste and helping the environment. Reusing parts where possible is always a greener option than replacing them.
3. Learning Experience
Rebuilding the starter gives you valuable hands-on experience. You’ll get to know your Kawasaki engine better, which can be handy for future maintenance and repairs.
Tools and Materials You’ll Need
Before you start, gather the following tools and materials to make the process smooth:
- 21153-7010 16121 Starter Rebuild Kit (available online or at your local parts store)
- Socket wrench set
- Screwdrivers (flathead and Phillips)
- Torque wrench
- Needle-nose pliers
- Electric motor cleaner (optional but recommended)
- Clean rags or towels
- Workbench or a clean, flat surface
Step-by-Step Guide to Rebuilding Your 19 HP Kawasaki Engine Starter
Step 1: Safety First
Before you start any work on your Kawasaki engine, ensure your workspace is safe. Disconnect the battery to prevent any accidental electrical shocks. Also, wear safety gloves and eye protection to avoid injury from small parts or debris.
Step 2: Remove the Starter
Locate the starter on your 19 HP Kawasaki engine. It’s usually positioned near the flywheel and attached to the engine block. Here’s how to remove it:
- Disconnect the battery: Always start by disconnecting the negative terminal of the battery to ensure there’s no power flowing to the starter.
- Locate the starter bolts: Use your socket wrench to remove the bolts that hold the starter in place.
- Disconnect the wiring: Carefully remove the wires attached to the starter using a screwdriver or pliers, noting where each wire is connected for reassembly later.
Once you’ve removed the starter, place it on a clean workbench.
Step 3: Disassemble the Starter
With the starter out of the engine, it’s time to take it apart. The goal is to open the starter casing to access the internal components that will be replaced using the 21153-7010 16121 Starter Rebuild Kit.
- Remove the screws or bolts: Use your socket wrench or screwdriver to remove any screws or bolts that hold the starter casing together.
- Carefully separate the casing: Gently pry open the starter casing, being cautious not to damage any components. Lay the casing and all parts neatly on your workbench in the order you remove them. This will help you remember how to reassemble them later.
Step 4: Inspect the Components
Once the starter is disassembled, inspect all the internal parts. You’re looking for wear, corrosion, or damage. The most common parts that need replacing are the brushes, bushings, and armature—all of which are typically included in the 21153-7010 16121 Starter Rebuild Kit.
- Brushes: These wear out over time due to friction and should be replaced if they’re worn down.
- Bushings: Check the bushings for wear, as this can cause misalignment in the starter shaft.
- Armature: If the armature looks scorched or damaged, you’ll want to replace it with the new one provided in the kit.
Step 5: Clean the Parts
Before reassembling your starter, take the time to clean all the reusable parts. Use an electric motor cleaner or a similar product to remove any dirt, debris, or corrosion. Wipe everything down with a clean rag to ensure it’s free of contaminants.
Step 6: Rebuild the Starter with the 21153-7010 16121 Kit
Now it’s time to rebuild the starter using the components from your 21153-7010 16121 Starter Rebuild Kit. Follow these steps:
- Replace the brushes: Install the new brushes into the brush holder. Make sure they fit snugly and are aligned properly.
- Install new bushings: If your old bushings are worn, use the new ones from the kit. Insert them into their respective locations in the starter casing.
- Replace the armature: If the armature in your starter was damaged, install the new one. Ensure that the new armature is aligned properly with the brushes and bushings.
- Reassemble the starter casing: Carefully fit the starter casing back together, ensuring that all components are aligned and nothing is pinched or misaligned.
Step 7: Reinstall the Starter
With your starter rebuilt, it’s time to reinstall it in your 19 HP Kawasaki engine. Follow the reverse order of the removal process:
- Reconnect the wiring: Attach the wires to their respective terminals, making sure each connection is tight.
- Bolt the starter back in place: Use your socket wrench to secure the starter with the bolts you removed earlier.
- Reconnect the battery: Finally, reconnect the negative terminal of the battery to restore power to the engine.
Step 8: Test the Starter
With everything reinstalled, it’s time for the moment of truth—testing your newly rebuilt starter. Turn on your engine and listen for smooth cranking. If everything was done correctly, the engine should start easily and run smoothly.
If you experience any issues, double-check all the connections and ensure that all components were installed correctly.
Why Choose the 21153-7010 16121 Starter Rebuild Kit?
The 21153-7010 16121 Starter Rebuild Kit is specifically designed for Kawasaki engines, making it the ideal solution for rebuilding your starter. Here’s why this kit stands out:
1. OEM Quality
The components in this kit meet or exceed OEM standards, ensuring you get the same reliability and performance as the original starter.
2. Comprehensive Kit
This rebuild kit includes all the essential parts you need to get your starter back in working order. From brushes to armatures and bushings, the 21153-7010 16121 kit has you covered.
3. Easy to Install
With the right tools and a bit of patience, even a DIY enthusiast can tackle this rebuild project. The components are designed for a direct fit, ensuring an easy installation process.
4. Cost-Effective
Instead of purchasing a brand-new starter, the 21153-7010 16121 Starter Rebuild Kit offers a much more affordable solution without compromising on quality.
Final Thoughts
Rebuilding your 19 HP Kawasaki engine’s starter using the 21153-7010 16121 Starter Rebuild Kit is a smart and cost-effective way to keep your engine running smoothly. Not only will you save money, but you’ll also gain valuable experience that can help you tackle future maintenance and repairs.
With this guide, you now have everything you need to confidently rebuild your starter. So, grab your tools, order the 21153-7010 16121 Starter Rebuild Kit, and get started! You’ll have your Kawasaki engine purring like new in no time.
also read:1984 Chevrolet Van G10 Split Lip Air Dam Kit: A Must-Have Custom Upgrade for Van Enthusiasts
- Life Style Cool Shit Project: Redefine Your Space at LifeStyledCo - January 6, 2025
- Picuki: Your Gateway to Accessing Instagram’s Exclusive Content - December 31, 2024
- 5 Attractive Places to Visit in Abha, Saudi Arabia - December 18, 2024


